

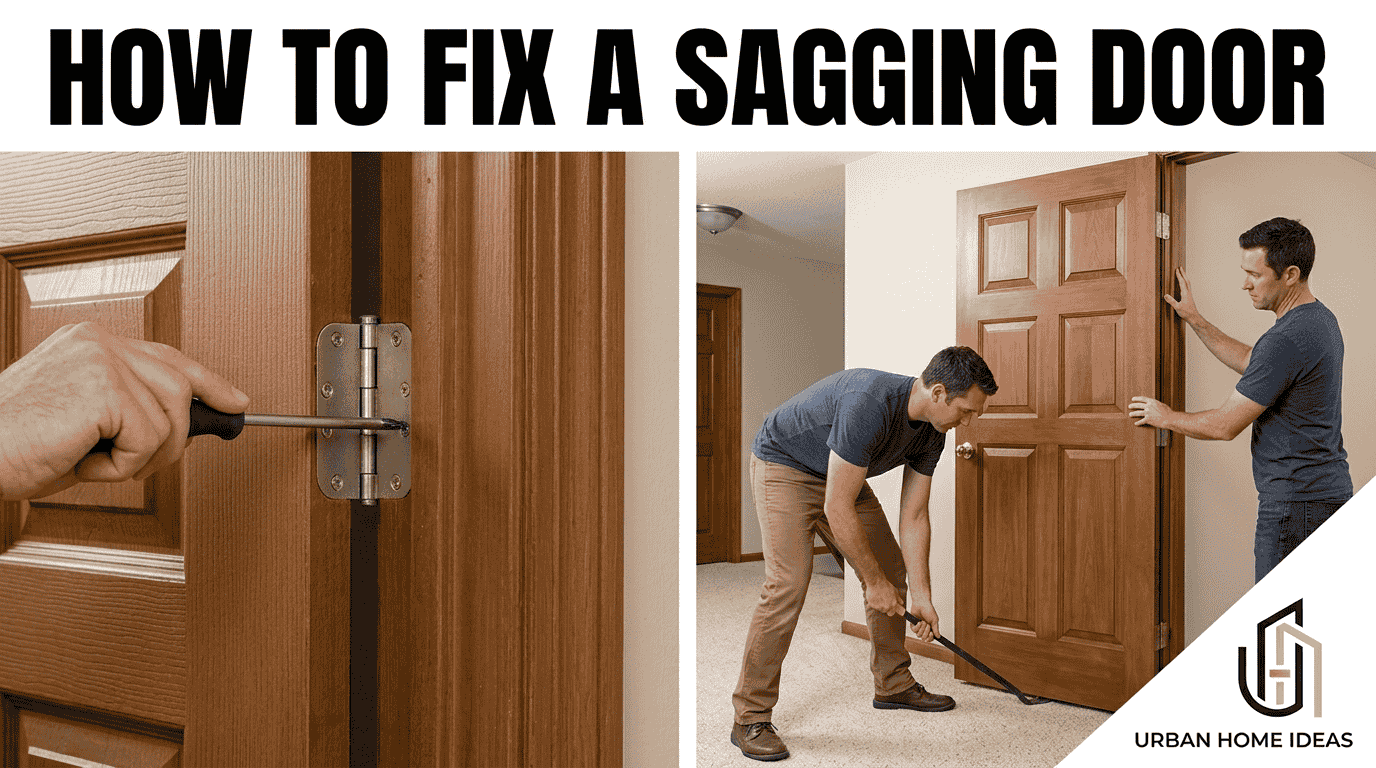
A sagging door rarely needs immediate replacement. In many cases, a misaligned frame, tired hinges, or loose screws creates uneven gaps that make the door scrape, stick, or drag across the floor. Learning how to fix a sagging door starts with finding the real cause before making any adjustment.
- How To Fix A Sagging Door: What Causes The Problem?
- Loose Or Worn Hinges
- Stripped Or Worn Screw Holes
- Warped Or Swollen Door
- Foundation Or Structural Shifting
- Paint Or Stain Under The Hinges
- Tools And Materials You’ll Need
- How To Fix A Sagging Door
- 1. Tighten The Door Hinge Screws
- 2. Repair Stripped Screw Holes
- 3. Install Longer Hinge Screws
- 4. Add Or Adjust Hinge Shims
- 5. Replace Damaged Or Worn Hinges
- 6. Sand The Door Where It Rubs
- Unique Competitor Sections
- Remove Paint From Under The Hinge
- Tighten The Top Of The Door Jamb
- Bend Back The Top Hinge
- Sand The Top Section Of The Door Jamb
- Adjust The Strike Plate
- Check And Adjust The Latch Mechanism
- Final Testing And Adjustments
- Cost To Fix A Sagging Door
- Check For Structural Shifting
- When To Call A Professional
- FAQ
- What Causes A Door To Sag Over Time?
- How Do You Fix A Sagging Door That Won’t Close?
- Can You Fix A Sagging Door Without Removing It?
- Will Tightening Hinges Permanently Fix A Sagging Door?
- When Should You Call A Professional?
- How Do You Fix A Door Dragging On The Floor?
- How Do You Fix A Door Sticking At The Bottom?
- How Do You Level A Door Over An Uneven Floor Or Threshold?
- Other post
A front door that becomes difficult to close or difficult to lock often changes gradually. Normal wear, loose hardware, structural changes, or a slight shift in the doorway can affect its alignment. In practical repair work, the problem is usually identified by watching where the door contacts the frame rather than immediately reaching for basic tools.
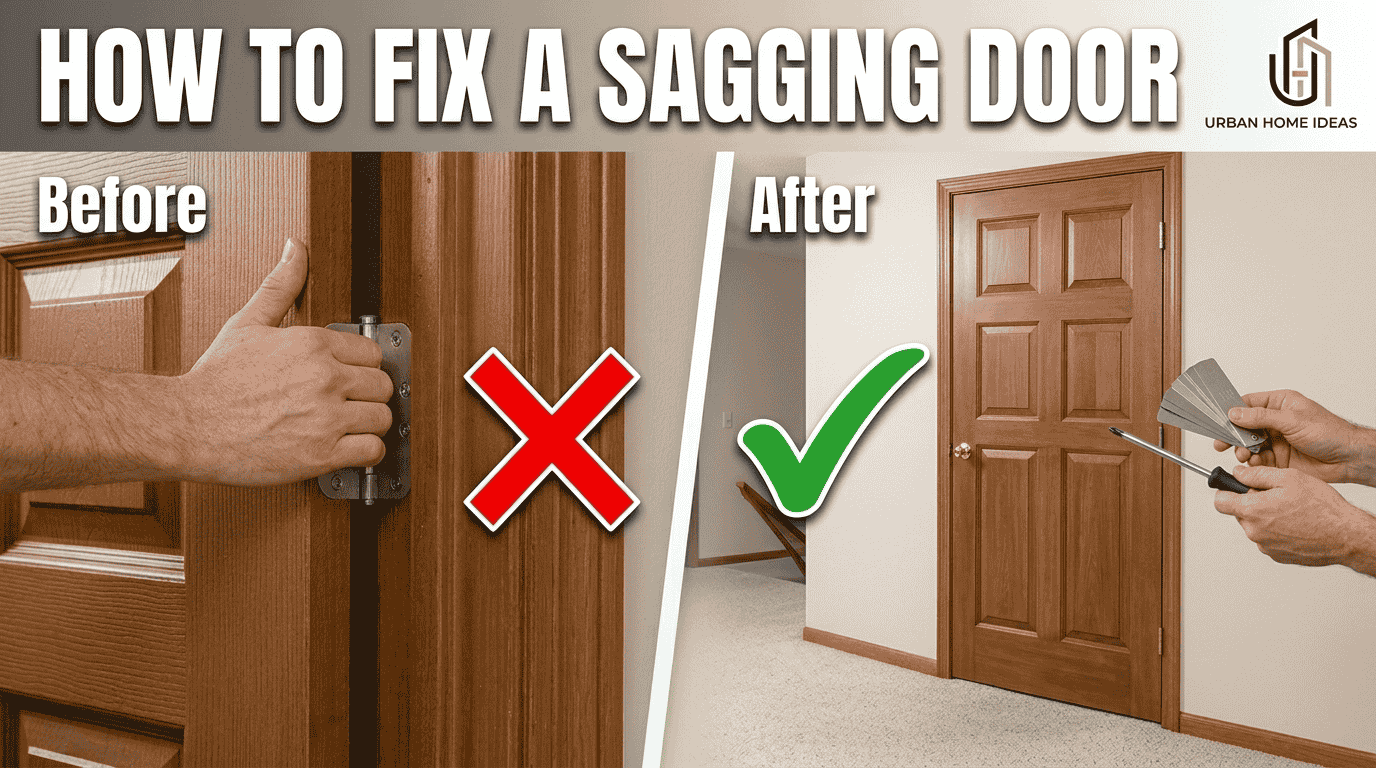
Sometimes the door will start sticking, close unexpectedly, or fail to shut correctly. It may even create drafts inside the home. Proper hinge adjustments, screw adjustments, and edge adjustments can often correct these symptoms before extensive repairs become necessary.
How To Fix A Sagging Door: What Causes The Problem?
Understanding why a door drops out of position makes the repair more accurate. Instead of treating every rubbing edge the same way, a person should inspect the hinges, screw holes, frame, and door material first.
Loose Or Worn Hinges
The upper hinge often deserves the first inspection because it handles a considerable load. When loose hinge screws begin to loosen, the hinge can slowly pull away from the jamb. That small movement is enough to change the alignment of the door and create visible sagging.
The problem is not always limited to hinge screws. Worn hinges or damaged hinges can allow movement even when the screws seem tight. Checking the hardware, hinge leaves, and surrounding frame helps determine whether tightening or replacement makes more sense.
Stripped Or Worn Screw Holes
A screw that spins but refuses to tighten often points toward stripped screw holes or worn screw holes. The screws have lost their grip because the surrounding wood no longer holds them firmly.
As the hinge gains unwanted movement, the door drops away from its intended position. These enlarged holes should be repaired before another screw is forced into them. A secure fixing point restores better alignment and helps control continued sagging and further drop.
Warped Or Swollen Door
Not every alignment problem begins at the hinges. Wooden doors respond naturally to moisture, humidity, and temperature changes. These environmental changes can cause the material to swell or warp.
A swollen door may lose its normal fit within the frame, while a warped door can contact one area even when the hinges remain secure. The resulting change in alignment should be distinguished from ordinary hinge-related door sag before material is removed.
Foundation Or Structural Shifting
A door can also reveal movement beyond its own hardware. Foundation settlement or structural shifting may cause movement through the house, leaving a door frame slightly out of square.
When persistent sagging appears alongside cracks, an uneven doorway, or other signs of structural movement, routine hinge work may not solve the larger issue. Checking overall alignment first can prevent repeated adjustments that only hide the effects of settlement.
Paint Or Stain Under The Hinges
Layers of paint or stain can become trapped behind hinge leaves. Those layers effectively behave like small spacers, pushing the hinge outward instead of allowing it to sit flat against the wood.
Even a slight change in hinge position can create misalignment. Restoring direct contact between the hinge and its mounting surface can improve door alignment without altering other parts.
Tools And Materials You’ll Need
A practical repair setup may include a Phillips screwdriver, flathead screwdriver, drill, and suitable driver bits. For fastening work, 3-inch screws, replacement screws, coarse-thread screws, and other longer screws may be useful.
Repairs to damaged wood can call for wood glue, toothpicks, or wooden dowels. Alignment work may involve hinge shims, replacement hinges, a level, pencil, and other alignment tools.
A hammer, wood chisel, and scrap wood can assist with more detailed fitting. Sandpaper or a sander may address sticking areas, while careful paint removal can restore a hinge mortise. These basic tools and materials cover many common sagging-door repairs.
How To Fix A Sagging Door
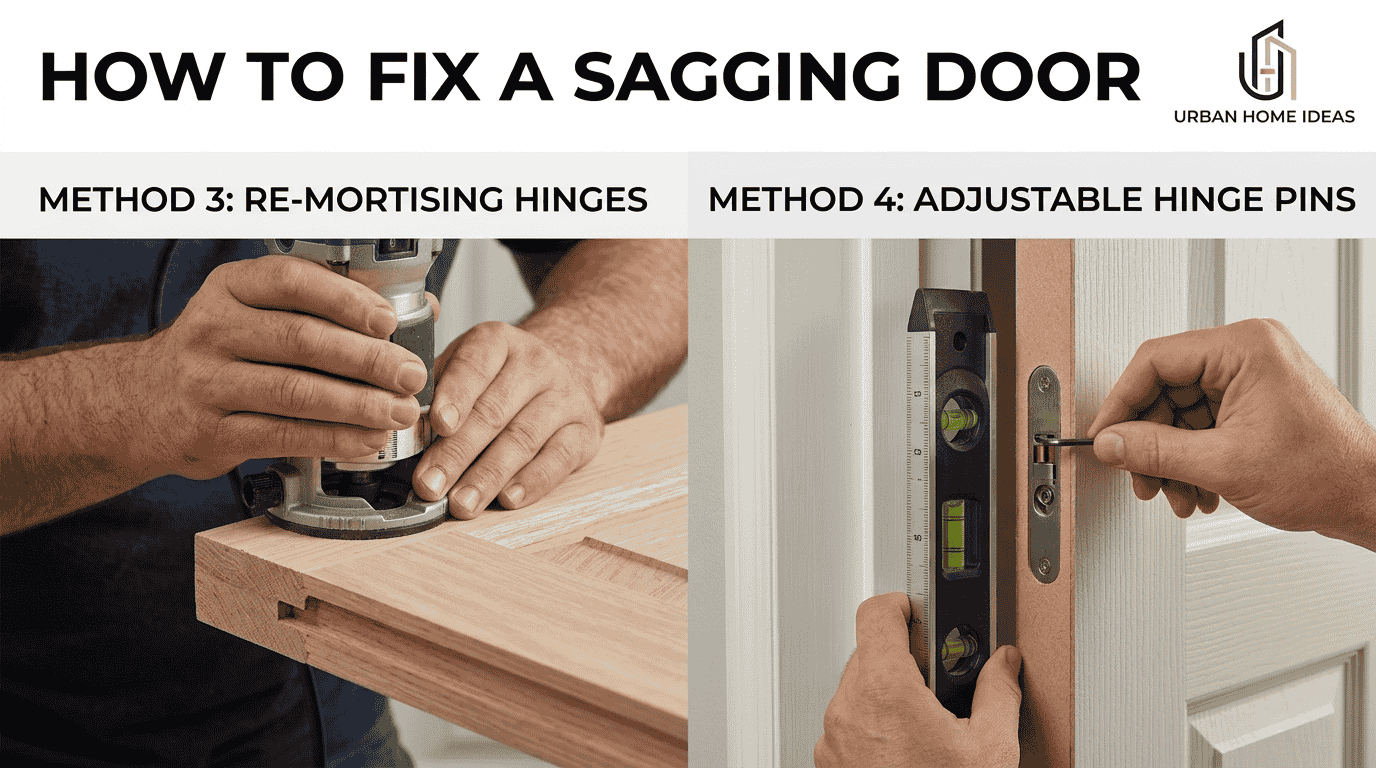
The best repair is not always the most aggressive one. Someone learning how to fix a sagging door should generally correct loose or damaged hardware before sanding wood away. Small mechanical corrections can produce a surprisingly large change in door position.
1. Tighten The Door Hinge Screws
A useful first move is to inspect every hinge, paying particular attention to the top hinge. Each door hinge screw should be checked on both the door and jamb sides.
Using a screwdriver, the person can tighten any loose screws until the hinge sits firmly. The goal is secure hardware, not excessive tightening. Driving a screw too aggressively can create stripped wood and turn a simple sagging door problem into a damaged mounting point. Afterward, the alignment should be checked again.
2. Repair Stripped Screw Holes
When screws keep turning instead of tightening, the underlying stripped screw holes need attention. One practical method uses wood glue with toothpicks or wooden dowels to rebuild the damaged hole.
Once the repaired wood can provide sufficient grip, reinstalling screws allows the hinge to become secure again. This repair should be completed before further alignment work so the hinge has a dependable base.
3. Install Longer Hinge Screws
Sometimes the existing fastener does not reach enough solid material. Replacing a short upper-hinge screw with a 3-inch screw or other longer hinge screws can create a stronger anchor.
The longer fastener can reach the framing behind the jamb, helping pull the hinge and door toward proper alignment. A suitable replacement screw can therefore reduce sagging by tying the hardware more securely to the surrounding frame. The screw should still be tightened carefully rather than forced.
4. Add Or Adjust Hinge Shims
A thin shim can alter door position without requiring material to be cut from the door. The correct placement depends on where the misalignment appears, so the appropriate hinge must be chosen carefully.
With hinge shims, small changes in thickness can make noticeable differences. The person should work gradually, testing the door after each adjustment. If existing shims are creating misalignment, it may be better to remove them. The objective is controlled alignment, not simply adding material behind every hinge.
5. Replace Damaged Or Worn Hinges
When damaged hinges or worn hinges have excessive play, tightening screws may offer little improvement. A bent hinge can distort movement, while a loose hinge affected by long-term wear may no longer support the door correctly.
A suitable replacement hinge should match the door dimensions and door weight. Once the person chooses to replace the old hardware, each hinge should sit flat and secure. Correct installation can restore alignment and reduce the downward movement associated with a sagging door.
6. Sand The Door Where It Rubs
A person should normally sand door surfaces only after confirming the hinges are secure. If the door still contacts the frame, the exact rubbing area should be marked.
Using sandpaper or a sander, a small amount of material can be removed gradually. The person should test door movement repeatedly and avoid removing excessive wood. The goal is simply to remove enough material to create clearance and stop sticking or scraping.
Unique Competitor Sections
Several additional adjustments can help when basic hinge tightening does not completely correct the door.
Remove Paint From Under The Hinge
An affected hinge may sit incorrectly because of accumulated paint or stain beneath it. Removing the hinge exposes the hinge mortise, where unwanted paint layers can be carefully cleared.
Once the person can remove the buildup and clear the mounting surface, the hinge can sit correctly against the wood. Restoring the intended hinge position may improve alignment without cutting the door.
Tighten The Top Of The Door Jamb
After ordinary hinge corrections, a remaining sticking problem may involve the upper latch-side jamb. In suitable cases, a long screw can help pull the door jamb toward a better position.
The screw should tighten the area without distorting the jamb. Because this changes alignment beyond normal hinge adjustments, the door should be tested after each small correction.
Bend Back The Top Hinge
A top hinge with alignment trouble may sometimes respond to careful adjustment of the upper hinge knuckles. This type of adjustment should be approached carefully.
Only small changes are needed. Excessive bending can create new alignment problems or damage the hinge and related hardware. A controlled bend should therefore be followed by another check of door alignment.
Sand The Top Section Of The Door Jamb
If a specific sticking area remains at the upper jamb, limited sanding can provide additional clearance. This differs from sanding the door itself because the material removal occurs at the door jamb.
Only the portion causing rubbing should be sanded. Removing too much material from the frame can create another alignment problem, so the door should be checked frequently.
Adjust The Strike Plate
Correcting the main sag does not guarantee that the latch will immediately meet the strike plate. If they remain misaligned, the plate may need to be repositioned.
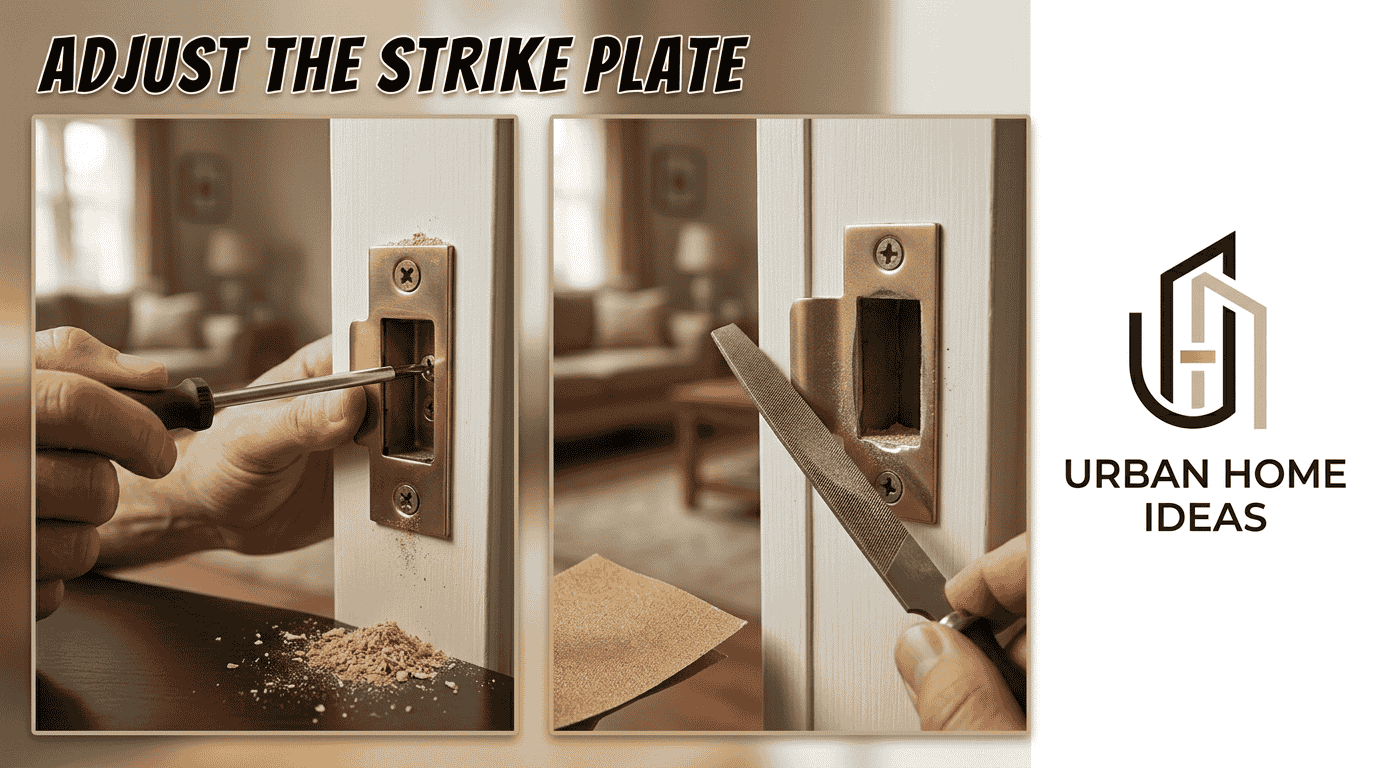
Its mortise can sometimes be adjusted so the door closes naturally. Correct latch alignment should allow the mechanism to engage without being forced. This final alignment work involves the surrounding hardware and doorway after the sagging position has been corrected.
Check And Adjust The Latch Mechanism
The latch mechanism should move smoothly when the handle operates. If the latch meets the strike plate at a slightly off position, it may need to be adjusted even after the main door alignment has been corrected.
Good alignment allows the door to close and improves reliable locking. The related hardware should work without excessive pressure.
Final Testing And Adjustments
After repair work, the person should open and close the repaired door several times. Attention should be given to scraping, dragging, sticking, and any remaining latch problems.
Repeated testing can reveal whether door movement is smooth and whether enough clearance exists around the frame. Only small adjustments should follow at this stage. These final adjustments help preserve the corrected alignment.
Cost To Fix A Sagging Door
Basic DIY repairs can remain inexpensive when a sagging door only needs screws, shims, or minor strike-plate adjustments. The required materials are often limited.
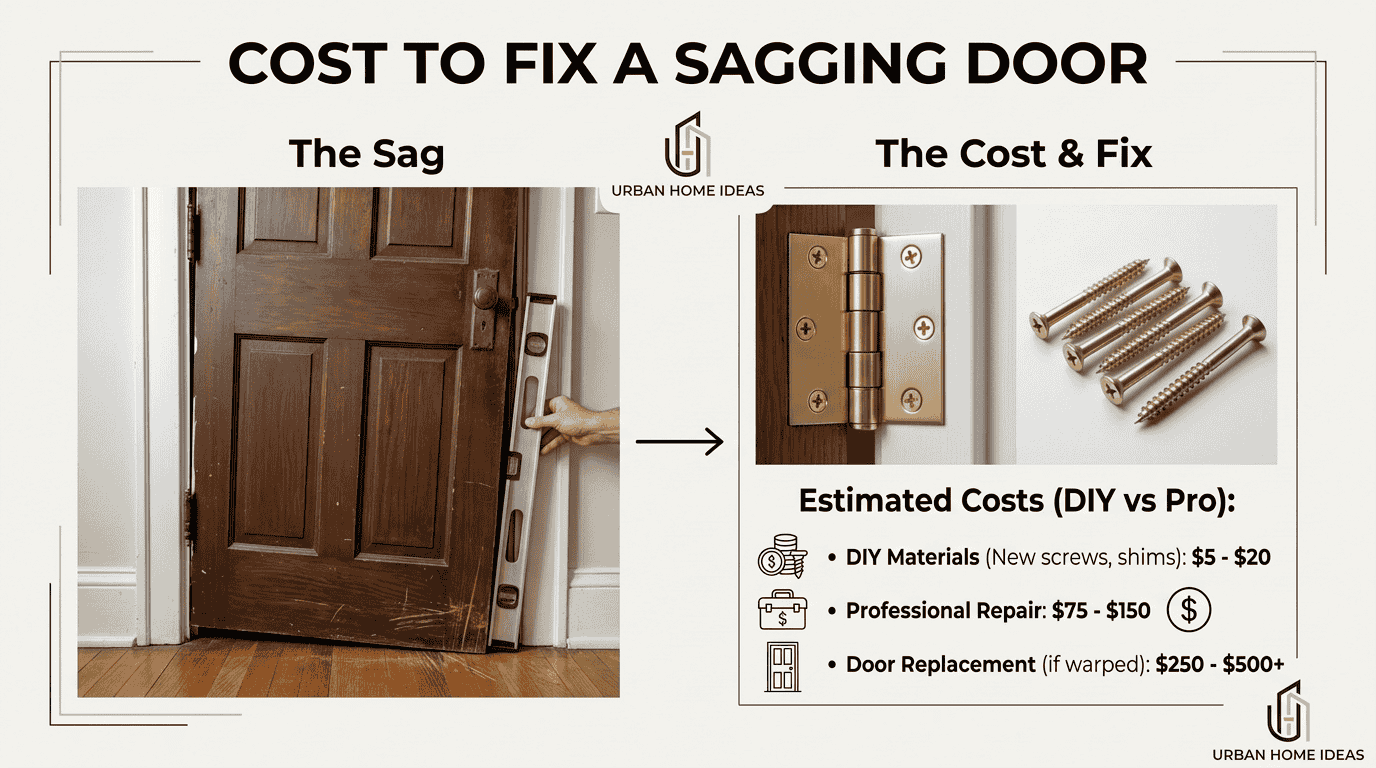
Costs rise when professional labor, new hardware, or complete door replacement becomes necessary. The overall cost therefore depends on whether the door repair involves a minor adjustment or a larger structural or hardware issue. The final repair cost should reflect the actual cause rather than unnecessary replacement.
Check For Structural Shifting
When normal hinge repairs and alignment repairs repeatedly fail, the surrounding area deserves closer inspection. Changes in the frame or house may indicate structural movement rather than a simple door fault.
In that situation, ordinary door adjustments can become temporary or ineffective. Continued shifting may cause the door to return to a sagging position, making the underlying structural issue more important than repeated hardware adjustments.
When To Call A Professional
Professional help becomes more reasonable when standard hinge repairs and alignment repairs fail to hold. A warped or damaged jamb, distorted frame, or severe deformation of the door can require more than ordinary DIY work.
A sagging problem associated with structural movement or foundation movement also deserves careful evaluation. Repeated door adjustments should not be used to disguise wider structural issues. In those situations, a professional can determine whether normal repair work is enough or whether the underlying alignment problem needs broader attention.
FAQ
What Causes A Door To Sag Over Time?
When learning how to fix a sagging door, it helps to understand why a door sags in the first place. Over time, daily use places constant weight and constant pull on the top hinge. The door weight creates a repeated pull on the top hinge, which can cause hinge wear and worn hardware. As the hardware weakens, the hinge may lose its original position. In other cases, frame shifting or shifting frames changes how the door hangs. This ongoing weight can make the door sag over time, especially when the surrounding frames move and the hinge continues to carry the load.
How Do You Fix A Sagging Door That Won’t Close?
When a sagging door won’t close, the repair should begin with its hinges rather than immediate sanding. A person can tighten screws, inspect stripped holes, consider longer screws, and use hinge shims when appropriate.
After restoring door alignment, the strike plate and latch should be checked. If the frame or jamb still causes contact, limited material removal may help the door close correctly. This sequence keeps the repair focused on the cause.
Can You Fix A Sagging Door Without Removing It?
When learning how to fix a sagging door, a person can often easily fix the problem without removing the entire door. A simple door adjustment at the hinges may be enough for minor sagging. This means the person can fix a sagging door without taking the door off. Before removing or taking off anything, each hinge and the door hinges should be inspected. In many cases, the repair can be completed without taking the door off its hinges, making the fix quicker while keeping the sagging door mounted.
Will Tightening Hinges Permanently Fix A Sagging Door?
When learning how to fix a sagging door, tightening hinges can help, but it will not always permanently fix a sagging door. If hinge screws keep tightening without gripping, the underlying screw holes may be stripped. Those stripped screw holes weaken the hinge and its screws. A separate underlying issue can occur when framing has shifted. This shifted framing changes how the door sits, so simply tightening hinge screws may not permanently fix the sagging. The framing and screw holes should therefore be checked before treating a sagging door as a loose-hardware problem.
When Should You Call A Professional?
A professional should be considered when a sagging door continues to fail after normal hinge repairs and repair work. A warped frame, damaged jamb, or severe deformation can make basic adjustments ineffective.
Signs of structural movement or foundation movement are especially important. If the persistent problem affects more than one part of the doorway, professional help can determine whether simple alignment work is sufficient.
How Do You Fix A Door Dragging On The Floor?
When learning how to fix a sagging door, a dragging door should be checked at the hinges before anyone starts trimming the bottom of the door. If dragging continues across the floor, tightening loose hinges may lift the door slightly. Another option is adding a shim behind the bottom hinge. This shim behind the bottom hinge can correct alignment. After tightening, adding support, and checking the loose hinges, careful trimming may fix a dragging door. Only then should someone consider trimming the bottom or removing material from the bottom.
How Do You Fix A Door Sticking At The Bottom?
When learning how to fix a sagging door, a person should check the hinges before trying to sand down the bottom edge. A door that sticks at the bottom may need someone to tighten hinges or adjust hinges first. If sticking continues near the bottom, they can use a longer screw to pull the frame inward. This longer screw can pull the frame inward and improve alignment. If needed, they can adjust, tighten, or sand the bottom edge. Only after checking the hardware should they sand down excess material to fix a door that still rubs.
How Do You Level A Door Over An Uneven Floor Or Threshold?
When learning how to fix a sagging door, a person should first measure the floor slope near an uneven floor or threshold. To level a door, measure carefully, then support the low side with shims or a sloped buildup. The support should remain stable before workers adjust door components. They can trim door components or adjust and trim them until they fit correctly.
Other post
Home Hacks Wutawhacks: Best Cleaning & Storage Hacks
Ultimate Electronics Upgrade For The Living Room Ideas
What Is A Terrace? Design, Types, And Unique Benefits
Whole Home Remodeling: Complete Transformation, Smart Planning & Modern Design Ideas